Renovating a space—whether it’s a kitchen, bathroom, or living room—can bring tremendous value, style, and comfort to your home. But without proper planning, renovations can be overwhelming and expensive. This guide breaks down each step to help you approach the renovation process with confidence, ensuring that your project flows smoothly from start to finish.
1. Planning and Goal Setting
Every successful renovation starts with a clear plan. Begin by defining your goals: Are you looking to improve functionality, update aesthetics, increase storage, or all three? Here’s what to consider:
- Identify Pain Points: Evaluate what’s missing or problematic in your current space. Is the kitchen layout inefficient? Does the bathroom lack storage?
- Set a Budget: Outline a realistic budget that accounts for materials, labor, and a buffer for unexpected expenses (typically 10-20% of the budget).
- Determine Your Style: Research design inspirations to clarify your desired look and feel. Knowing whether you want a modern, minimalist, or rustic style will help guide your decisions later.
Pro Tip: For major renovations, consider consulting with a designer to get a solid plan in place. Their expertise can help maximize your space’s potential.
2. Selecting the Right Professionals
Choosing the right team is crucial. For large projects, you may need multiple specialists—an interior designer, contractor, or even an architect. Here’s a breakdown of who you may need:
- Interior Designer: Helps with layout, color schemes, material selection, and overall aesthetics.
- General Contractor: Manages construction, hires subcontractors, and ensures the project stays on schedule.
- Specialized Contractors (if needed): For plumbing, electrical work, or custom cabinetry.
Hiring Tips:
- Verify their credentials, read reviews, and request portfolios to assess previous work.
- Ask for quotes from multiple professionals to compare pricing and services.
3. Developing the Design and Layout
The design phase is where your renovation vision starts taking shape. Consider the unique needs of each room:
Kitchen Renovations:
- Layout: Choose a layout (U-shaped, L-shaped, galley, etc.) that maximizes efficiency and suits the room’s size.
- Storage Solutions: Plan for ample cabinets, pull-out shelves, and pantry space to keep countertops clear.
- Appliance Placement: Design the layout around the “work triangle” (sink, stove, and fridge) to optimize movement.
Bathroom Renovations:
- Functional Layout: Place fixtures in a way that maximizes comfort and ease of movement.
- Storage: Install vanity cabinets, wall-mounted shelves, and medicine cabinets for effective storage.
- Ventilation: Adequate ventilation is essential in bathrooms to prevent mold and mildew buildup.
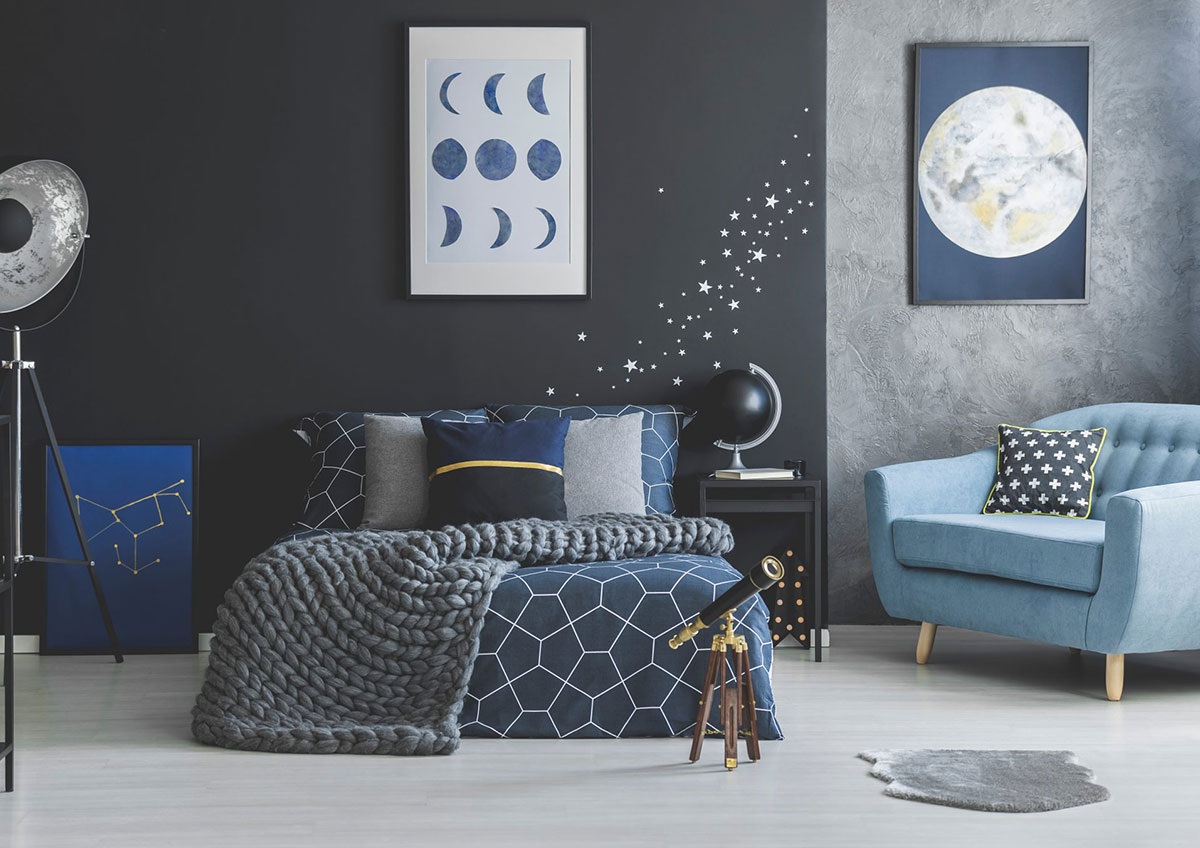
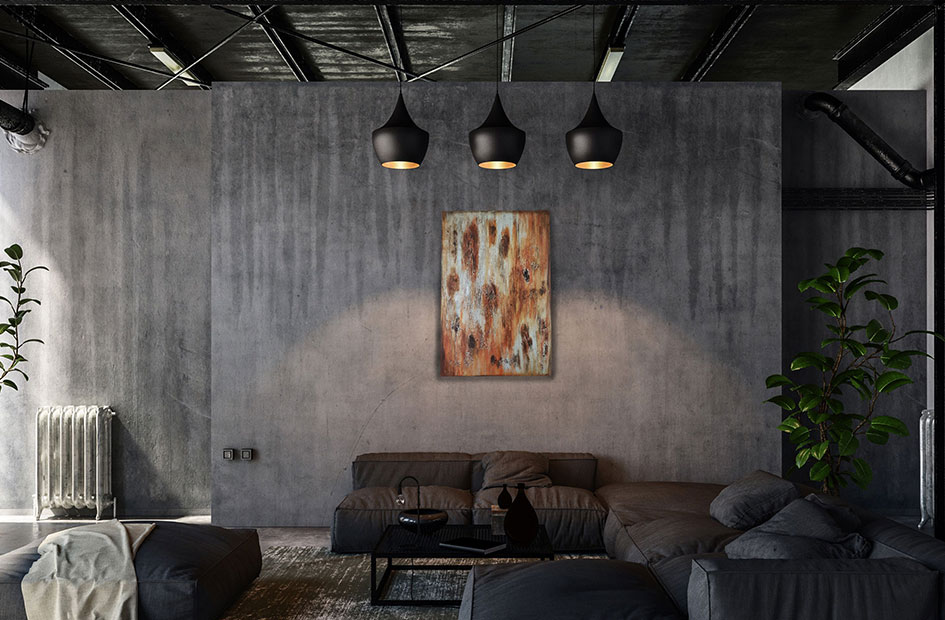
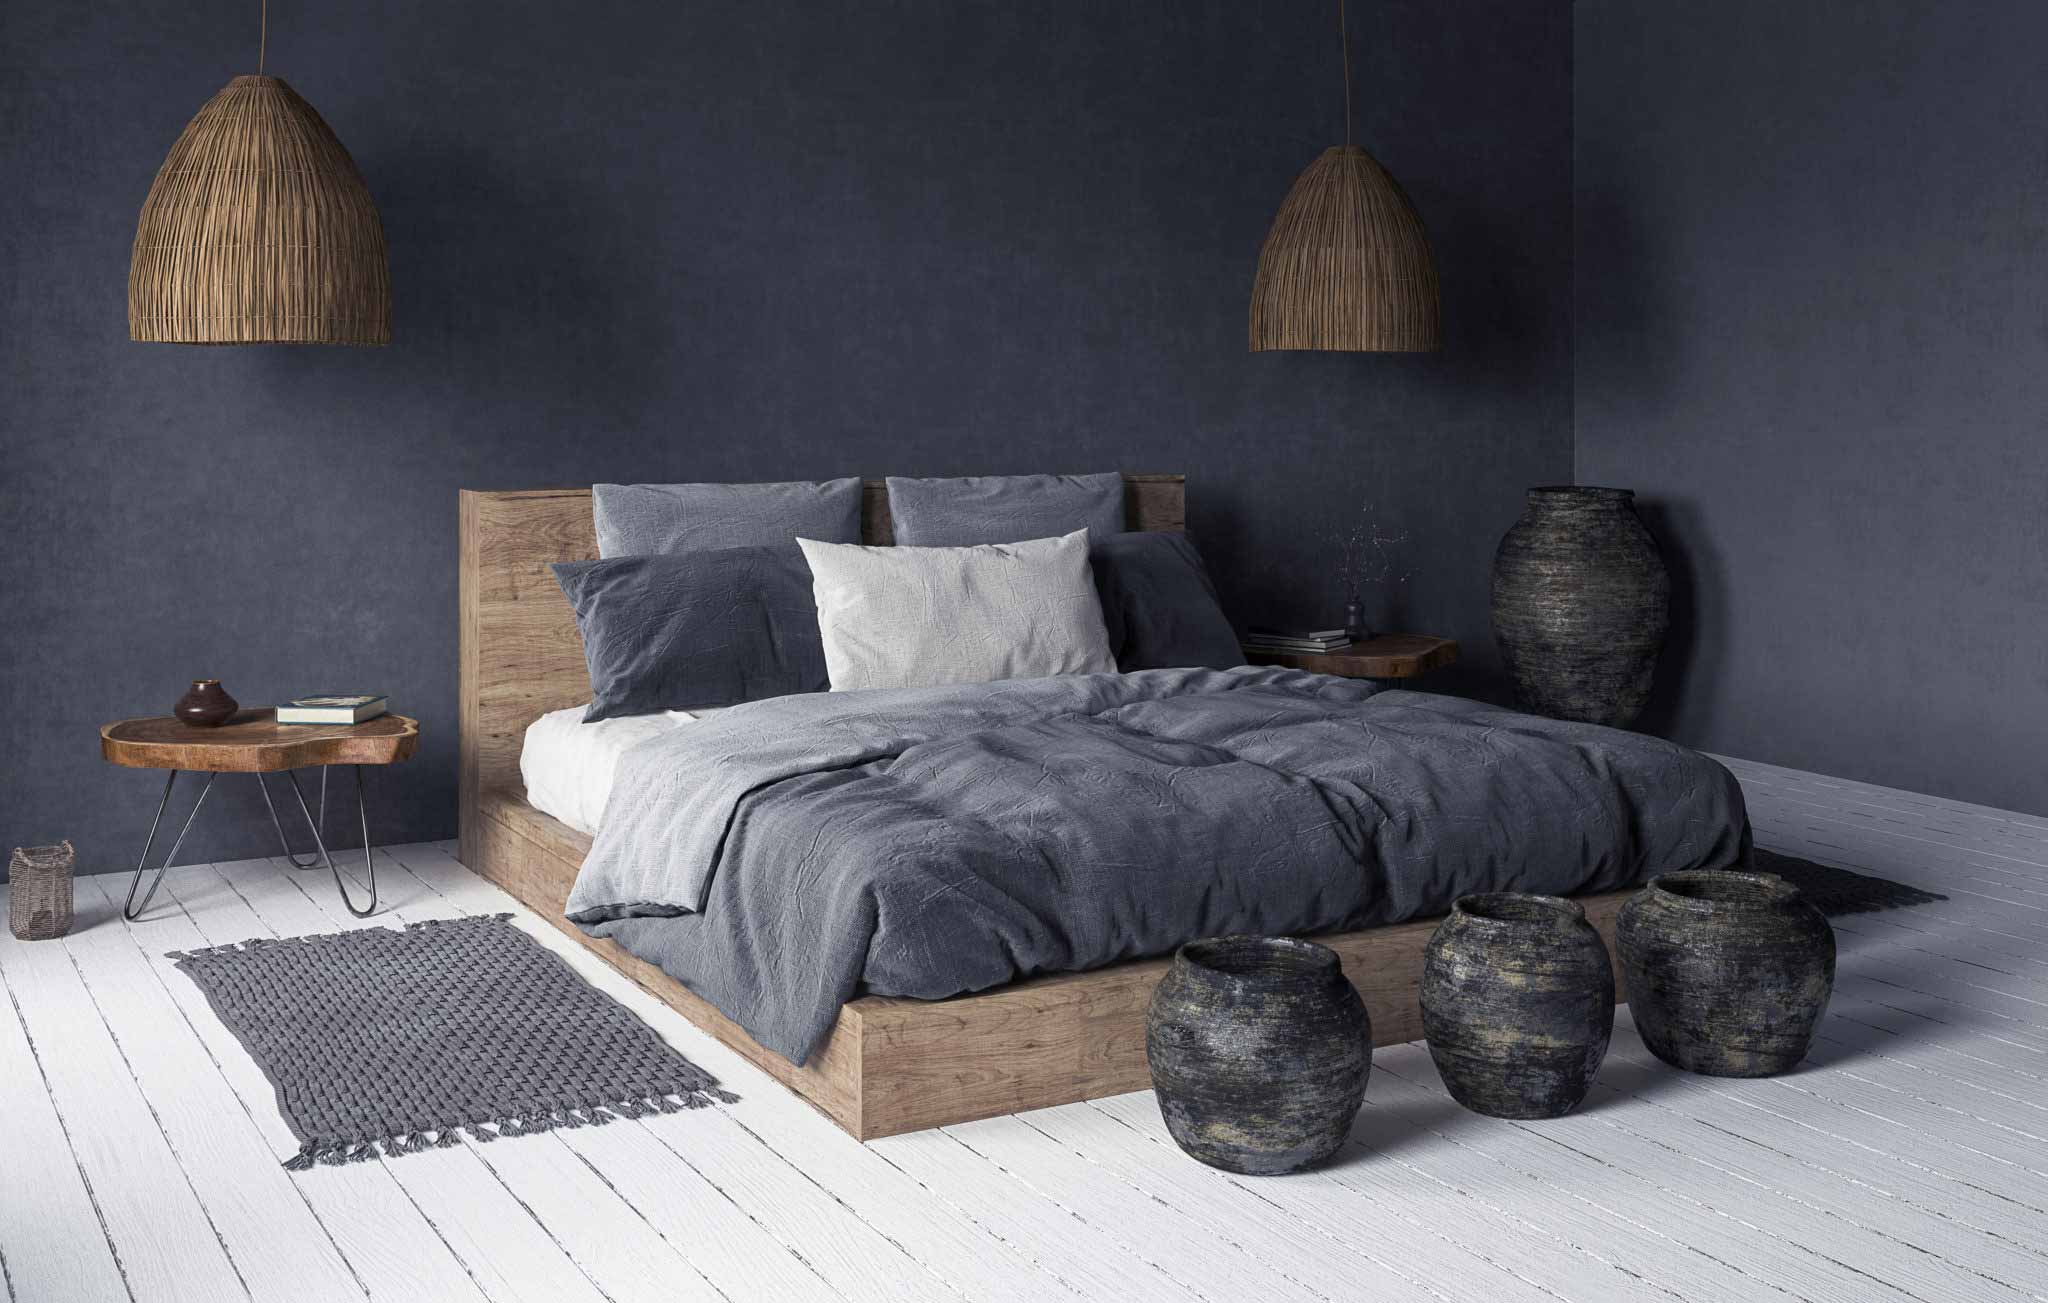
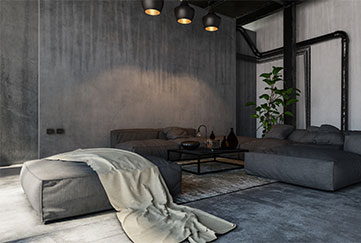
Living Room Renovations:
- Focal Point: Decide whether you want a TV, fireplace, or artwork to be the room’s centerpiece.
- Lighting: Layered lighting (ambient, task, and accent) adds warmth and depth to living rooms.
- Furniture Layout: Arrange seating to facilitate conversation, maximize comfort, and create clear pathways.
4. Materials and Finishes Selection
Choosing the right materials and finishes will enhance your space’s functionality, style, and longevity. Here’s what to focus on:
- Durability: Opt for durable, water-resistant materials in kitchens and bathrooms (like tile, quartz countertops, and high-quality cabinetry).
- Aesthetic Appeal: Match finishes to your design style, such as stainless steel for modern kitchens or brass for a more traditional look.
- Budget-Friendly Options: High-quality doesn’t always mean expensive. Look for materials that provide value without sacrificing style.
Pro Tip: Order samples and view them in your space to see how they look in different lighting.
5. Demolition and Site Preparation
Once your plans and materials are finalized, it’s time for demolition. This phase can be noisy and messy, so take necessary precautions:
- Clear Out the Space: Remove furniture, appliances, and personal items. Protect adjacent rooms from dust with plastic sheeting.
- Manage Waste: Coordinate with your contractor to rent a dumpster or waste removal service for debris.
- Structural Check: During demolition, contractors may uncover structural issues (like mold or old wiring). Address these promptly to avoid delays.
6. Construction and Installation
The construction phase is where the physical transformation happens. Here’s a breakdown of tasks specific to each room:
Kitchen:
- Electrical and Plumbing Work: Install or update wiring and pipes before adding cabinets and countertops.
- Cabinetry and Countertops: Fit cabinets, countertops, and backsplashes. Proper alignment is key to an organized, efficient kitchen.
- Appliance Installation: Integrate appliances after the cabinets and countertops are in place for a seamless look.
Bathroom:
- Plumbing: Install fixtures like showers, tubs, sinks, and toilets with precise plumbing work.
- Tile Installation: Lay floor and wall tiles in a pattern that matches your design vision, ensuring grout lines are clean and sealed.
- Vanity and Storage: Fit cabinets and shelves for essential storage needs.
Living Room:
- Flooring: Install your chosen flooring material (hardwood, carpet, etc.), ensuring it aligns with the rest of your home.
- Lighting Fixtures: Set up lighting based on your layered lighting plan to create ambiance.
- Built-Ins: If you’re adding custom shelving or cabinetry, ensure they’re properly anchored and finished.
7. Final Touches and Finishing

After construction is complete, it’s time to focus on the details that make a space feel complete:
- Paint and Wall Finishes: Apply paint, wallpaper, or other finishes. Choose a color that complements the room’s overall design.
- Install Hardware: Add drawer pulls, cabinet handles, towel racks, and other hardware that matches your style.
- Final Cleaning: Hire a cleaning crew to ensure every surface is spotless, from floors to fixtures.
8. Final Inspection and Walkthrough
Before signing off on the project, do a thorough walkthrough with your contractor to check that all work meets your expectations. Pay attention to details:
- Quality of Finish: Inspect for any chips, scratches, or imperfections in the finish of materials.
- Functionality: Test faucets, lighting, cabinets, and appliances to ensure everything functions properly.
- Address Issues: Note any final adjustments that need attention and make sure they’re resolved before the project is officially completed.
9. Enjoy Your New Space!
Once everything is in place and meets your expectations, it’s time to settle in and enjoy the newly renovated space. Take pride in your transformed kitchen, bathroom, or living room—it’s the result of careful planning, collaboration, and attention to detail.
praesent proin torquatos. Lorem ipsum dolor sit amet.