Author: admin

10 Apr

Why Turnkey Interior Solutions are the Best Choice for Busy Homeowners

Designing and executing an interior project can be an exciting but often overwhelming experience for homeowners and business owners alike. From selecting materials to coordinating different contractors, the process can be challenging to manage. This is where turnkey interior solutions come in. By providing a complete, end-to-end service, turnkey solutions streamline the entire process, making it more efficient, cohesive, and stress-free. Here’s how turnkey interior solutions benefit you:

1. Time Efficiency

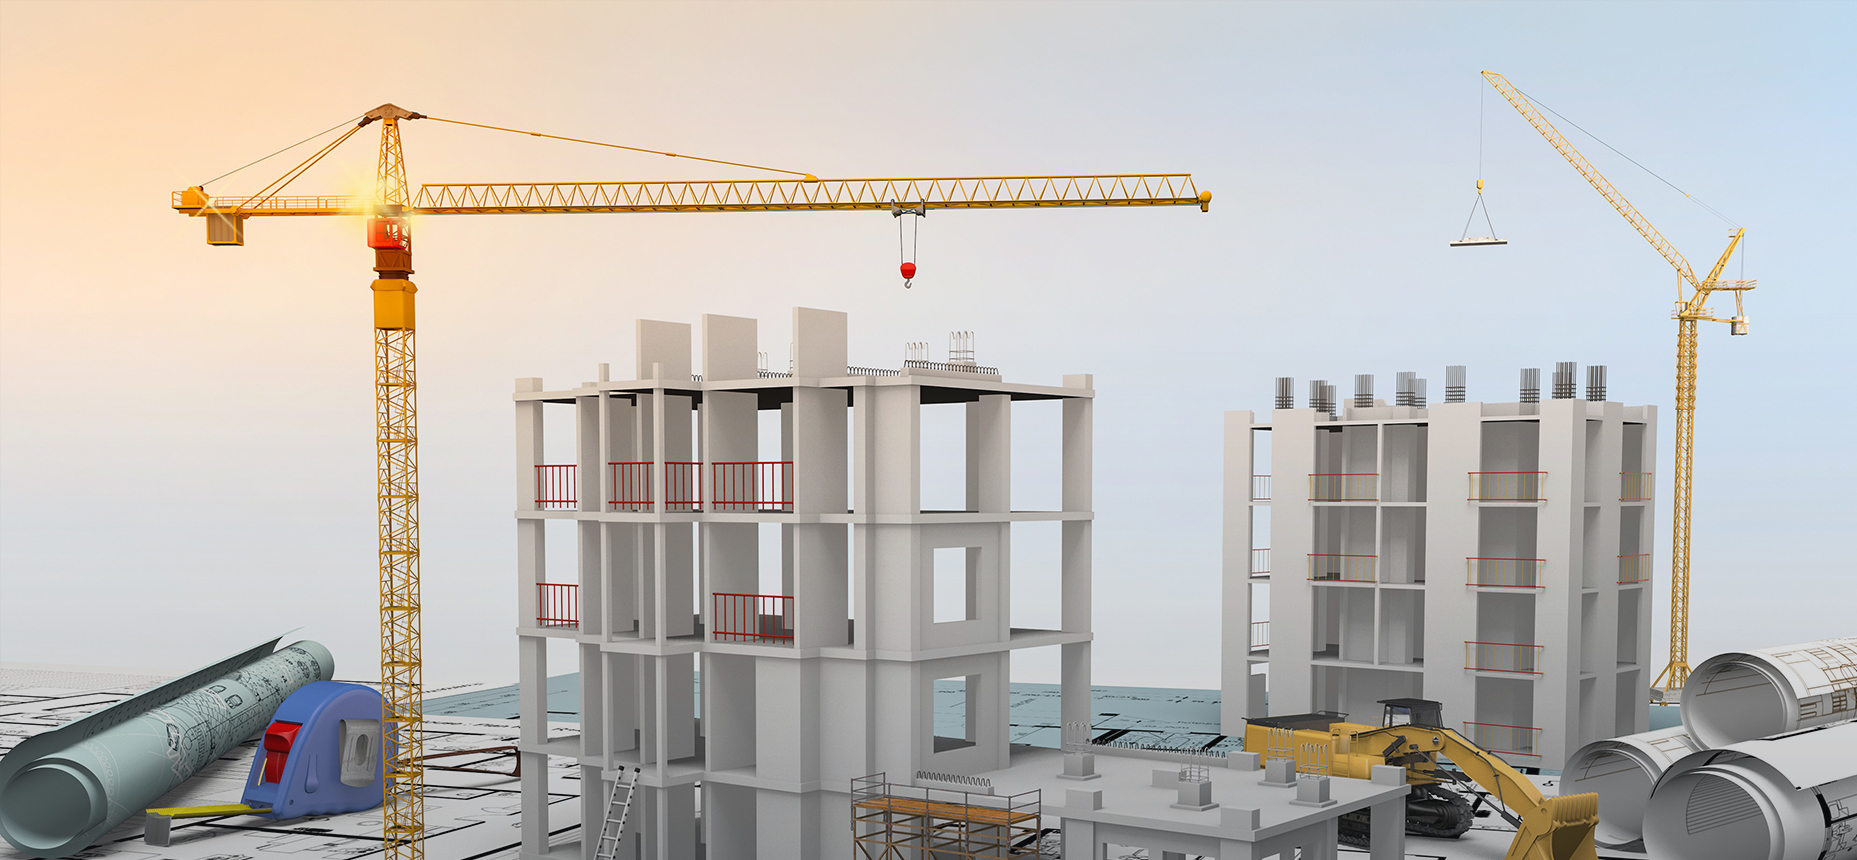
Turnkey interior solutions save significant time by consolidating all phases of a project—from initial consultation to final execution under one service. When each step of the process is carefully managed and streamlined, you avoid common delays caused by miscommunication, scheduling conflicts, or the need to source materials and labor separately. With a single team responsible for everything, timelines are well-organized, and work progresses smoothly, helping your project reach completion faster than it would with separate contractors.

2. Professional Project Management

When you choose a turnkey provider, you benefit from the expertise of experienced project managers who oversee every detail. From design planning and budgeting to scheduling and supervising on-site work, project managers handle all the logistics. This ensures that every phase aligns with the overall vision and that quality is maintained throughout. The team is skilled in coordinating designers, craftsmen, and vendors, allowing the project to progress in a structured, organized manner. You can relax knowing that professionals are handling each aspect, ensuring everything meets the highest standards.

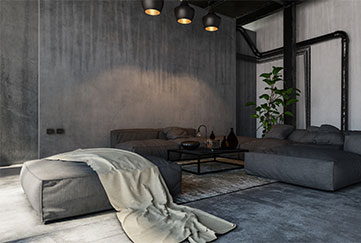
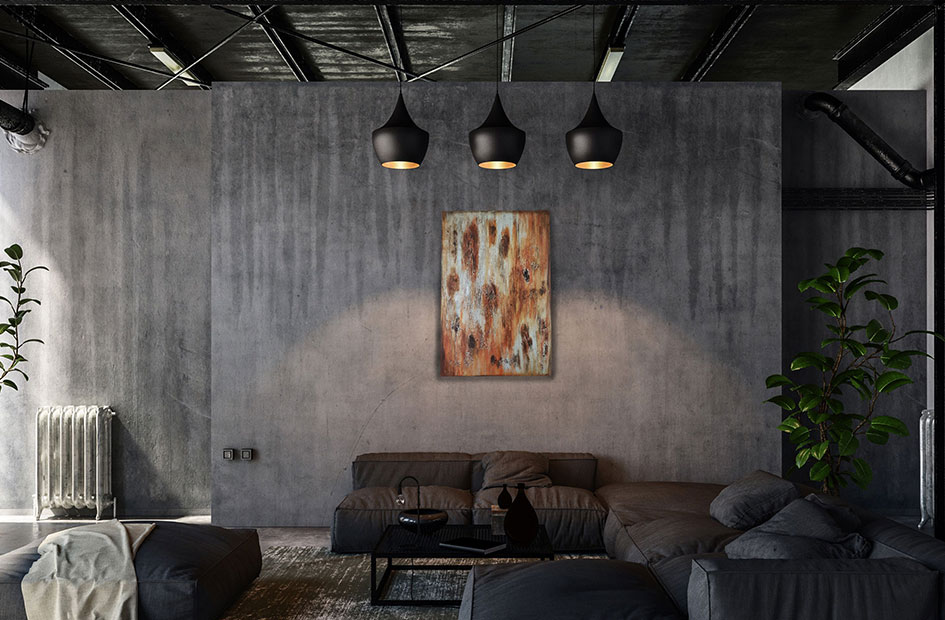
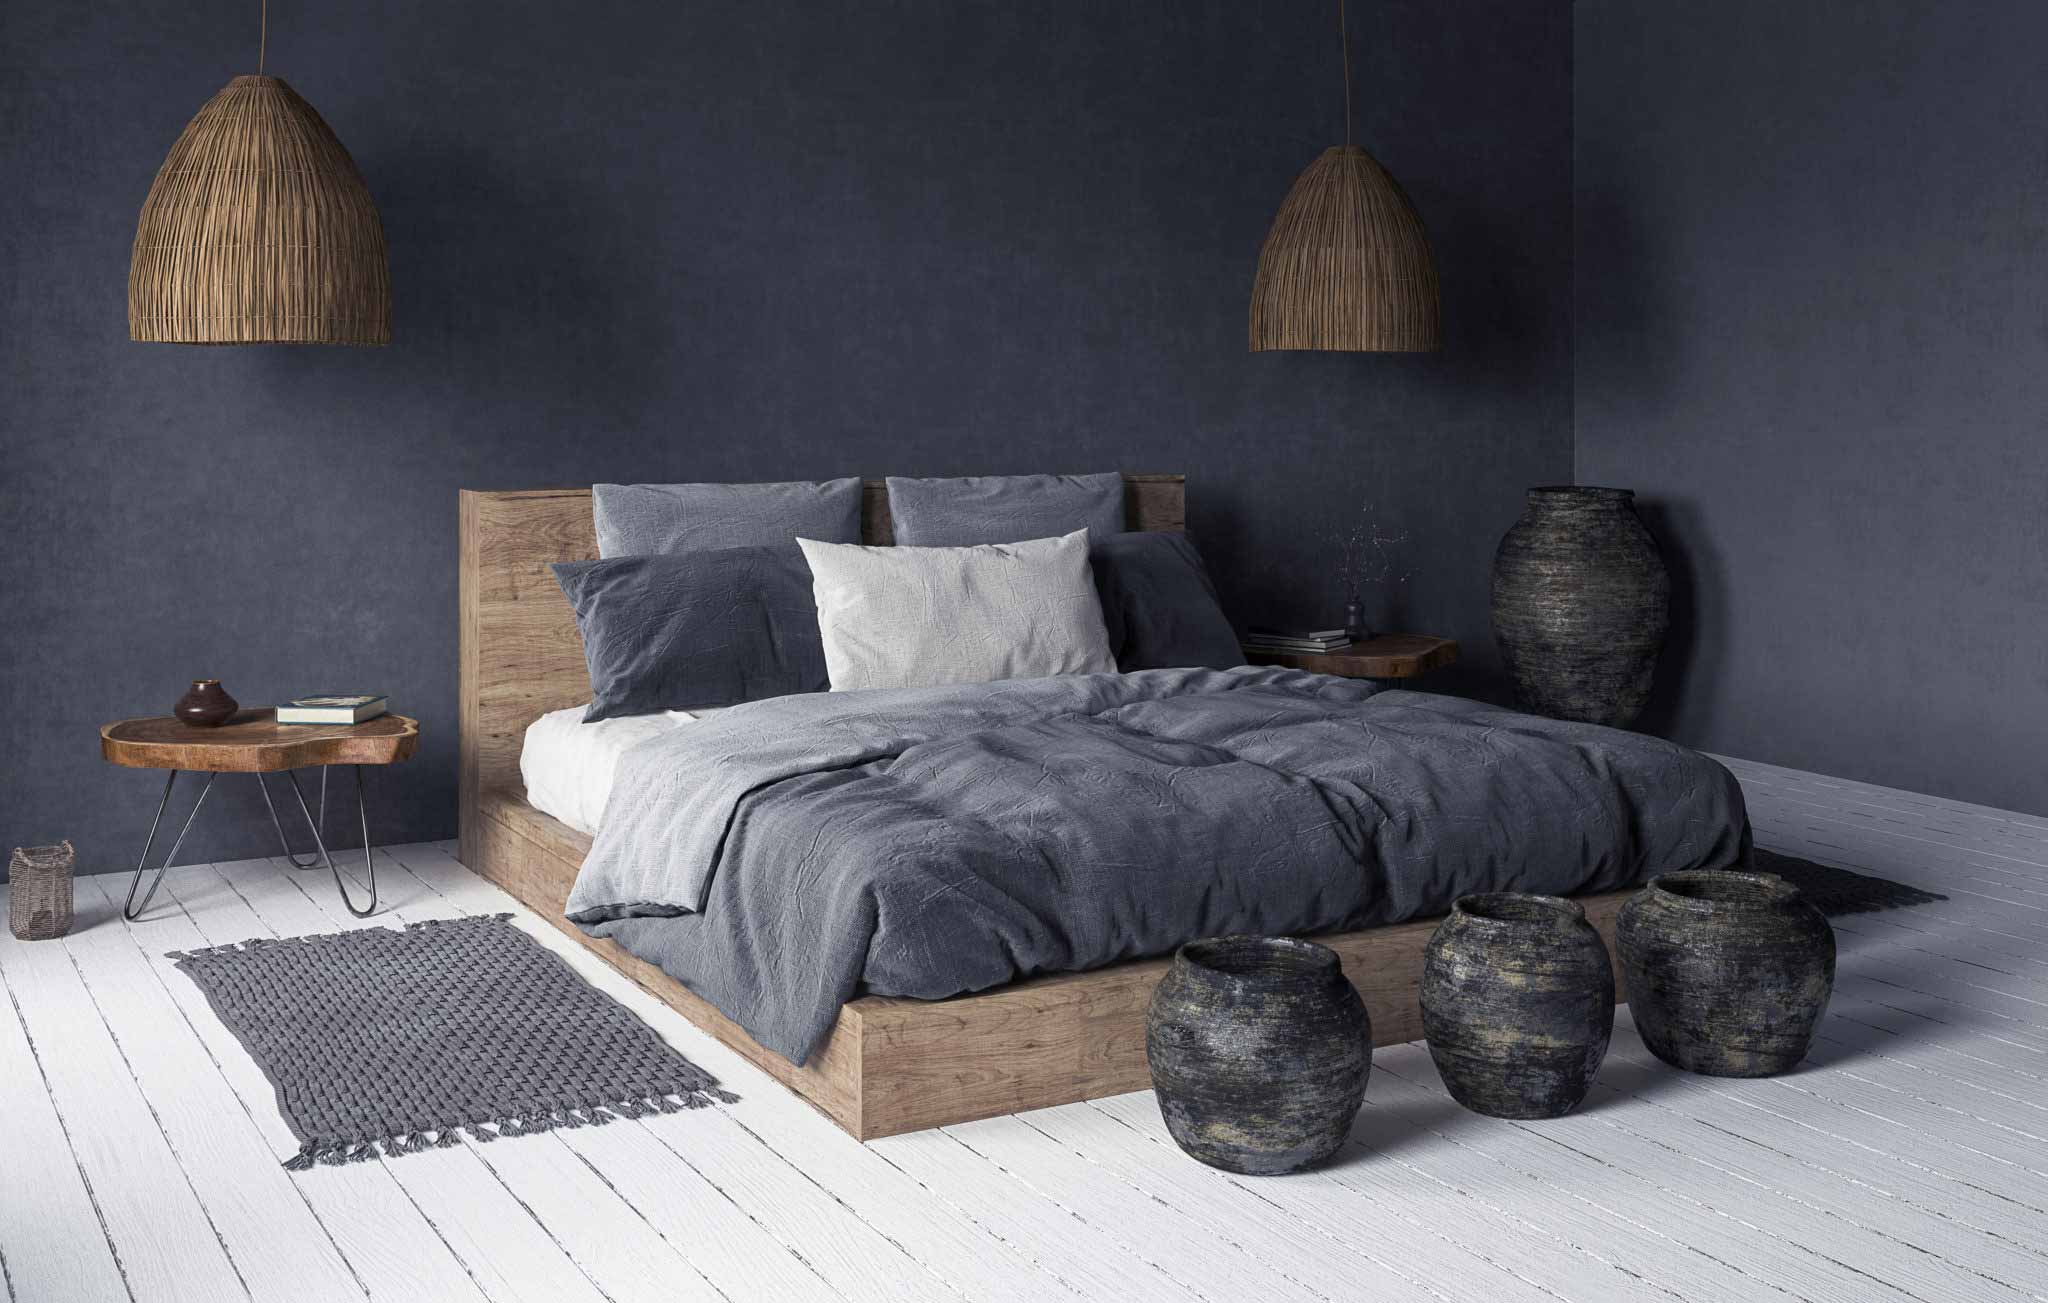
3. Cohesive Design and Execution

A significant advantage of turnkey services is the cohesive design approach. With one team overseeing the entire project, the design vision is consistent across all stages, from concept to completion. You don’t have to worry about misalignment between different contractors, as all team members work collaboratively to deliver a unified, seamless design. This approach guarantees that every component—furniture, finishes, lighting, and décor—complements each other perfectly, creating a balanced, polished look.

4. Stress-Free Experience

Coordinating multiple vendors, handling budget adjustments, and ensuring everyone adheres to deadlines can be overwhelming, especially if you have other commitments. With turnkey solutions, the provider takes on all responsibilities, from sourcing materials to managing labor and troubleshooting issues that may arise. This reduces your stress, as you have a single point of contact to discuss any questions or concerns. With one dedicated team managing the entire project, you can step back and enjoy the transformation process, knowing your space is in capable hands.

5. Cost Efficiency

Although turnkey solutions may initially seem more expensive, they can actually save money in the long run. By working with a single provider, you eliminate the risks of miscommunication or poorly executed work that could require costly re-dos. Turnkey providers also have established relationships with suppliers and vendors, often allowing them to procure quality materials at discounted prices, which are then passed on to you. Additionally, detailed project planning helps keep the project on budget, preventing unexpected costs down the road.

6. Quality Control and Assurance

With turnkey interior solutions, quality is maintained throughout the project by a team of professionals who prioritize craftsmanship and attention to detail. Turnkey providers carefully select trusted contractors and suppliers, ensuring that each aspect of the project meets high standards. The turnkey team also conducts quality checks at various stages, addressing any issues immediately so that the final outcome is flawless. With this consistent quality control, you can feel confident that the end result will meet or exceed your expectations.

7. Post-Project Support and Maintenance

Many turnkey providers offer post-project support, which can be a significant benefit if any issues arise after the project’s completion. Whether it’s small touch-ups, adjustments, or guidance on maintaining new materials, post-project support provides peace of mind and helps protect your investment.

12 Feb

Transforming Spaces: The Ultimate Guide to Renovations & Remodeling

Renovating a space—whether it’s a kitchen, bathroom, or living room—can bring tremendous value, style, and comfort to your home. But without proper planning, renovations can be overwhelming and expensive. This guide breaks down each step to help you approach the renovation process with confidence, ensuring that your project flows smoothly from start to finish.


1. Planning and Goal Setting

Every successful renovation starts with a clear plan. Begin by defining your goals: Are you looking to improve functionality, update aesthetics, increase storage, or all three? Here’s what to consider:

  • Identify Pain Points: Evaluate what’s missing or problematic in your current space. Is the kitchen layout inefficient? Does the bathroom lack storage?
  • Set a Budget: Outline a realistic budget that accounts for materials, labor, and a buffer for unexpected expenses (typically 10-20% of the budget).
  • Determine Your Style: Research design inspirations to clarify your desired look and feel. Knowing whether you want a modern, minimalist, or rustic style will help guide your decisions later.

Pro Tip: For major renovations, consider consulting with a designer to get a solid plan in place. Their expertise can help maximize your space’s potential.


2. Selecting the Right Professionals

Choosing the right team is crucial. For large projects, you may need multiple specialists—an interior designer, contractor, or even an architect. Here’s a breakdown of who you may need:

  • Interior Designer: Helps with layout, color schemes, material selection, and overall aesthetics.
  • General Contractor: Manages construction, hires subcontractors, and ensures the project stays on schedule.
  • Specialized Contractors (if needed): For plumbing, electrical work, or custom cabinetry.

Hiring Tips:

  • Verify their credentials, read reviews, and request portfolios to assess previous work.
  • Ask for quotes from multiple professionals to compare pricing and services.

3. Developing the Design and Layout

The design phase is where your renovation vision starts taking shape. Consider the unique needs of each room:

Kitchen Renovations:

  • Layout: Choose a layout (U-shaped, L-shaped, galley, etc.) that maximizes efficiency and suits the room’s size.
  • Storage Solutions: Plan for ample cabinets, pull-out shelves, and pantry space to keep countertops clear.
  • Appliance Placement: Design the layout around the “work triangle” (sink, stove, and fridge) to optimize movement.

Bathroom Renovations:

  • Functional Layout: Place fixtures in a way that maximizes comfort and ease of movement.
  • Storage: Install vanity cabinets, wall-mounted shelves, and medicine cabinets for effective storage.
  • Ventilation: Adequate ventilation is essential in bathrooms to prevent mold and mildew buildup.

Living Room Renovations:

  • Focal Point: Decide whether you want a TV, fireplace, or artwork to be the room’s centerpiece.
  • Lighting: Layered lighting (ambient, task, and accent) adds warmth and depth to living rooms.
  • Furniture Layout: Arrange seating to facilitate conversation, maximize comfort, and create clear pathways.

4. Materials and Finishes Selection

Choosing the right materials and finishes will enhance your space’s functionality, style, and longevity. Here’s what to focus on:

  • Durability: Opt for durable, water-resistant materials in kitchens and bathrooms (like tile, quartz countertops, and high-quality cabinetry).
  • Aesthetic Appeal: Match finishes to your design style, such as stainless steel for modern kitchens or brass for a more traditional look.
  • Budget-Friendly Options: High-quality doesn’t always mean expensive. Look for materials that provide value without sacrificing style.

Pro Tip: Order samples and view them in your space to see how they look in different lighting.


5. Demolition and Site Preparation

Once your plans and materials are finalized, it’s time for demolition. This phase can be noisy and messy, so take necessary precautions:

  • Clear Out the Space: Remove furniture, appliances, and personal items. Protect adjacent rooms from dust with plastic sheeting.
  • Manage Waste: Coordinate with your contractor to rent a dumpster or waste removal service for debris.
  • Structural Check: During demolition, contractors may uncover structural issues (like mold or old wiring). Address these promptly to avoid delays.

6. Construction and Installation

The construction phase is where the physical transformation happens. Here’s a breakdown of tasks specific to each room:

Kitchen:

  • Electrical and Plumbing Work: Install or update wiring and pipes before adding cabinets and countertops.
  • Cabinetry and Countertops: Fit cabinets, countertops, and backsplashes. Proper alignment is key to an organized, efficient kitchen.
  • Appliance Installation: Integrate appliances after the cabinets and countertops are in place for a seamless look.

Bathroom:

  • Plumbing: Install fixtures like showers, tubs, sinks, and toilets with precise plumbing work.
  • Tile Installation: Lay floor and wall tiles in a pattern that matches your design vision, ensuring grout lines are clean and sealed.
  • Vanity and Storage: Fit cabinets and shelves for essential storage needs.

Living Room:

  • Flooring: Install your chosen flooring material (hardwood, carpet, etc.), ensuring it aligns with the rest of your home.
  • Lighting Fixtures: Set up lighting based on your layered lighting plan to create ambiance.
  • Built-Ins: If you’re adding custom shelving or cabinetry, ensure they’re properly anchored and finished.

7. Final Touches and Finishing

After construction is complete, it’s time to focus on the details that make a space feel complete:

  • Paint and Wall Finishes: Apply paint, wallpaper, or other finishes. Choose a color that complements the room’s overall design.
  • Install Hardware: Add drawer pulls, cabinet handles, towel racks, and other hardware that matches your style.
  • Final Cleaning: Hire a cleaning crew to ensure every surface is spotless, from floors to fixtures.

8. Final Inspection and Walkthrough

Before signing off on the project, do a thorough walkthrough with your contractor to check that all work meets your expectations. Pay attention to details:

  • Quality of Finish: Inspect for any chips, scratches, or imperfections in the finish of materials.
  • Functionality: Test faucets, lighting, cabinets, and appliances to ensure everything functions properly.
  • Address Issues: Note any final adjustments that need attention and make sure they’re resolved before the project is officially completed.

9. Enjoy Your New Space!

Once everything is in place and meets your expectations, it’s time to settle in and enjoy the newly renovated space. Take pride in your transformed kitchen, bathroom, or living room—it’s the result of careful planning, collaboration, and attention to detail.

praesent proin torquatos. Lorem ipsum dolor sit amet.

23 Jan

Bathroom Transformations: From Outdated to Spa-like Retreat

The Role of Design Consultancy in Creating Personalized Spaces

Design consultancy services offer a flexible way for clients to gain professional guidance and insights into their interior spaces without committing to a full-service design project. These services empower clients to make informed decisions on everything from layout to color schemes, creating a personalized space that reflects their tastes and needs. Here’s a closer look at what to expect from a design consultation, the typical services offered, and how to prepare to make the most of your consultation.


What to Expect from a Design Consultation

A design consultation is an in-depth discussion with a professional designer to review and analyze your space, goals, and preferences. The consultant provides expert recommendations on achieving your design vision and overcoming any design challenges you might face. Here’s what to expect:

  1. Needs Assessment: The designer will ask questions to understand your lifestyle, tastes, and practical needs. For example, they may inquire about the primary function of the space, any specific style preferences, and any problem areas you’d like to address.
  2. Initial Feedback and Ideas: The designer will share initial ideas on layout, colors, materials, and furniture that align with your preferences. This feedback is often based on quick sketches or mood boards that provide a general direction for the space.
  3. Tailored Recommendations: You’ll receive specific suggestions based on the consultant’s expertise. This can range from color palettes to furniture pieces and décor styles that will suit your needs and budget.
  4. Guidance on Budget and Timeline: A consultation often includes advice on how to best allocate your budget and a rough timeline for implementing changes.

Typical Services Offered in Design Consultancy

Design consultancy can cover a wide range of areas depending on your specific needs, and clients can choose the services that best suit their requirements. Common services include:

  1. Color Consultation: The designer helps you choose a color scheme that matches your style and enhances the room’s ambiance. They consider aspects like lighting, room size, and the emotional impact of colors.
  2. Space Planning: For functional and aesthetic purposes, space planning is essential. Consultants help you maximize space, create efficient layouts, and ensure each element fits harmoniously within the room.
  3. Furniture Selection: Designers offer guidance on choosing the right furniture pieces that align with your style and function requirements. They may suggest options that are both visually appealing and practical.
  4. Décor and Accessory Recommendations: Selecting décor elements like artwork, rugs, and lighting can make or break a room’s overall look. A design consultant can suggest cohesive pieces to elevate the space.
  5. Material and Finish Advice: Whether for countertops, flooring, or cabinetry, a consultant can recommend materials that balance style, durability, and cost.
  6. Personalized Shopping Lists: Some design consultations include a list of specific furniture, materials, and décor pieces that align with your budget and aesthetic goals, which you can purchase on your own timeline.

Importance of Expert Input in Colors, Layout, and Furniture Selection

  1. Color Harmony and Mood Setting: Designers have a trained eye for color combinations that create a cohesive look. They consider factors like lighting, room orientation, and complementary shades to find colors that enhance the room’s mood and flow.
  2. Optimized Layout for Functionality: Designers excel at creating layouts that optimize movement, comfort, and visual appeal. They understand the best ways to arrange furniture to enhance room flow, maximize space, and create natural focal points.
  3. Furniture Selection for Style and Practicality: Choosing the right furniture goes beyond appearance; it’s about scale, comfort, and functionality. Designers recommend pieces that complement each other and align with the room’s purpose.
  4. Style Consistency: Consultants ensure a cohesive style, preventing mismatched or clashing pieces. They know how to blend elements that achieve a unified look, whether it’s modern, rustic, or eclectic.

Tips for Clients on Preparing for Their Design Consultation

To make the most of a design consultation, a little preparation goes a long way. Here’s how to get ready:

  1. Clarify Your Goals and Preferences: Write down what you hope to achieve and list any specific needs or ideas you already have. This can include functional requirements, preferred colors, or specific furniture styles you’re drawn to.
  2. Gather Inspiration: Create a mood board or collection of images from websites or magazines that showcase designs you love. Showing these visuals to your consultant helps them understand your tastes better.
  3. Measure Your Space: Having measurements of your room and existing furniture helps the designer create a realistic plan and prevents suggestions that might not fit your space.
  4. Set a Budget Range: Be clear about your budget from the beginning. This will help the designer tailor recommendations that align with your financial goals.
  5. Identify Must-Haves and Deal Breakers: Share any non-negotiable aspects or design elements that you strongly prefer. It’s equally helpful to mention any styles or colors you want to avoid.